How to install image creator components manually?
Image creator component is needed to be installed on the target computers to perform online imaging. If you have any issues in automatically installing the image creator component from the product console, you can manually download and install it by following the steps given below,
- If the image creator installation fails, you will be given an option to download the image creator component from the product console.
- Navigate to OS Deployment Tab ->Image Repository -> Images
- Click Create Image option -> Download
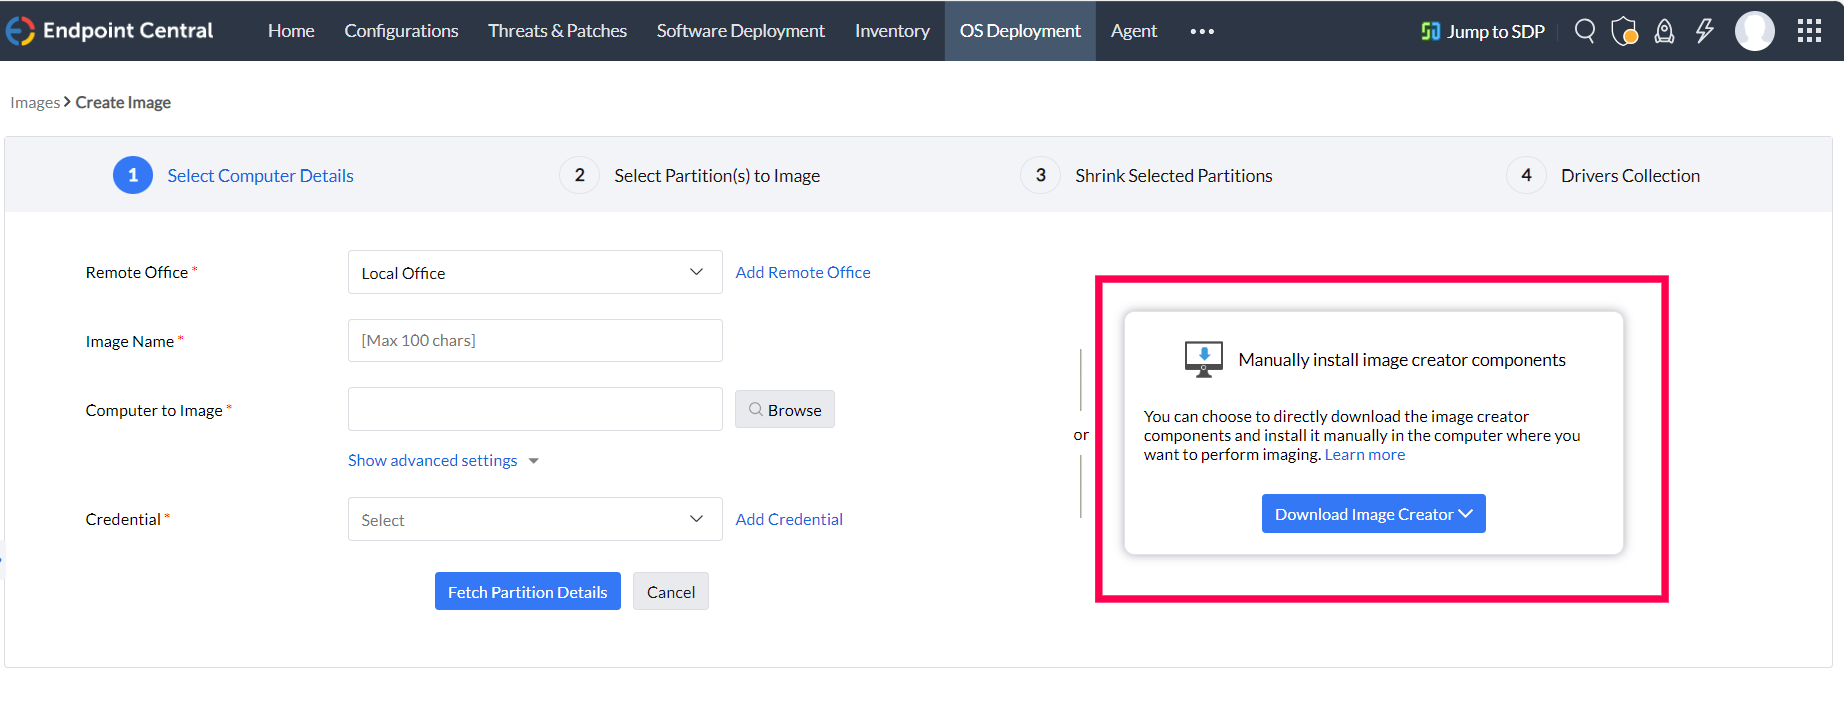
- Download the image creator components by choosing the required local or remote office from the list.
- Extract the downloaded zip file.
- Open the extracted folder. It will contain the following files and folders:
- 32bit
- 64bit
- OSDConfig.json
- setup.exe
- Run the setup.exe. Image Creator components will get installed in the computer.
After successful installation of the image creator component, you can continue with the imaging process.
If you get any errors in the image creator executable, refer this document.